 Way back in January of 2012, I wrote a little ditty I called Six Things to Remember when Servicing a Mavic Freehub Body. I wrote it, posted it and didn’t think much about it. Until the other day when I was running numbers on this little website and realized that a shit ton of people are looking for advice on how to service a Mavic freehub body. The poor bastards are showing up here and all I had to offer was advice on what not to do. Not exactly what they were looking for.
 This list goes on for a couple of pages and there are three in the top ten.
I found this quite interesting and did my own search for instructions on how to service a Mavic freehub body. The original version of the above linked post was on the front page. I also found that there were no good resources on that front page. No wonder they’re showing up here. None of the other sites were worth a shit. Some dude even went so far as to make a video, I wasn’t impressed.
So if you showed up here looking for some advice on what to do about your squealing Mavic wheels or why your chain bounces off your chain stay any time you get some speed, this is everything you need to know to take care of the problem. If you happen to own a set of Mavic wheels, they do require maintenance. They’re pretty bomb proof until the bushing gets worn out and then, well you don’t want to know what happens then.
1. Make sure you are prepared and have all necessary supplies. You will need a 5mm allen, 17mm open end wrench, Cog vise (or whip), Cassette Cracker, clean rag, freehub oil and a torque wrench. If you are missing any of these items, it will probably be easier and cheaper to just take it to your LBS and let them do it for you. Unless you plan on doing this often, and you should, then go ahead and buy the stuff.
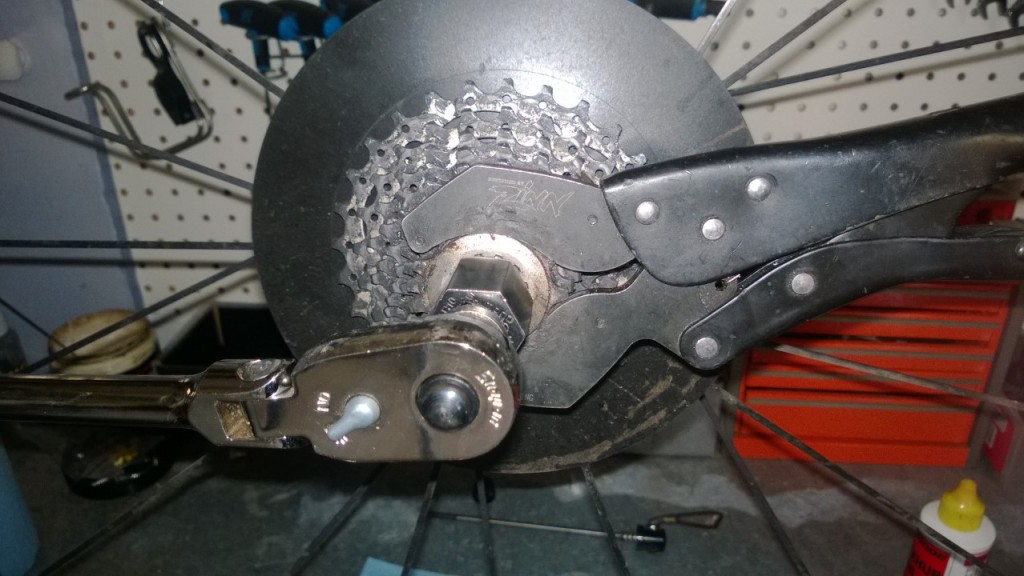
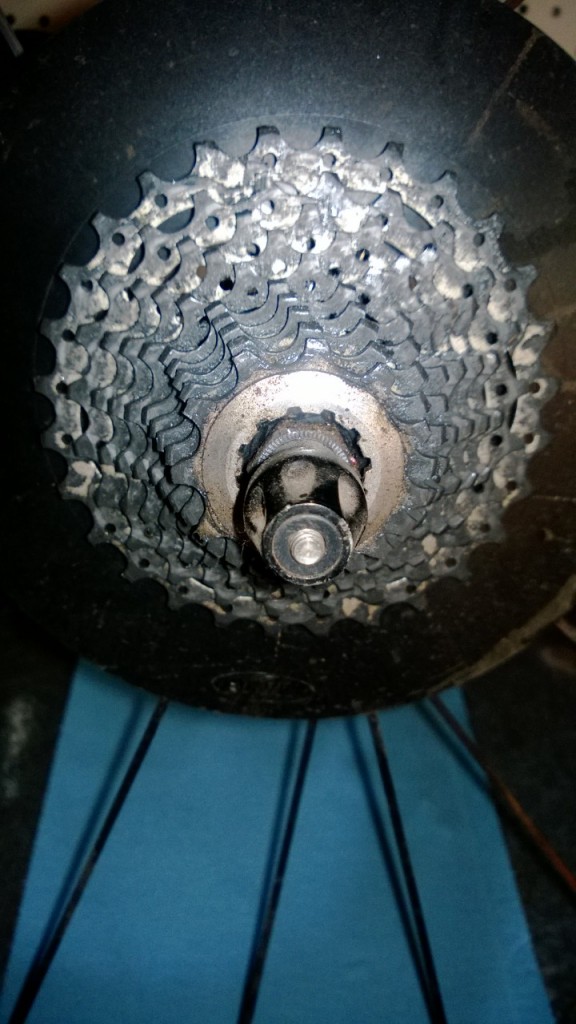
This is what you should be looking at, a rear wheel with a cassette installed. If the rear wheel is still on the bike, take it off.
2. It’s best to remove the cassette from the freehub before disassembling the hub. Grab the cog vise and your cassette cracker and remove the cassette.
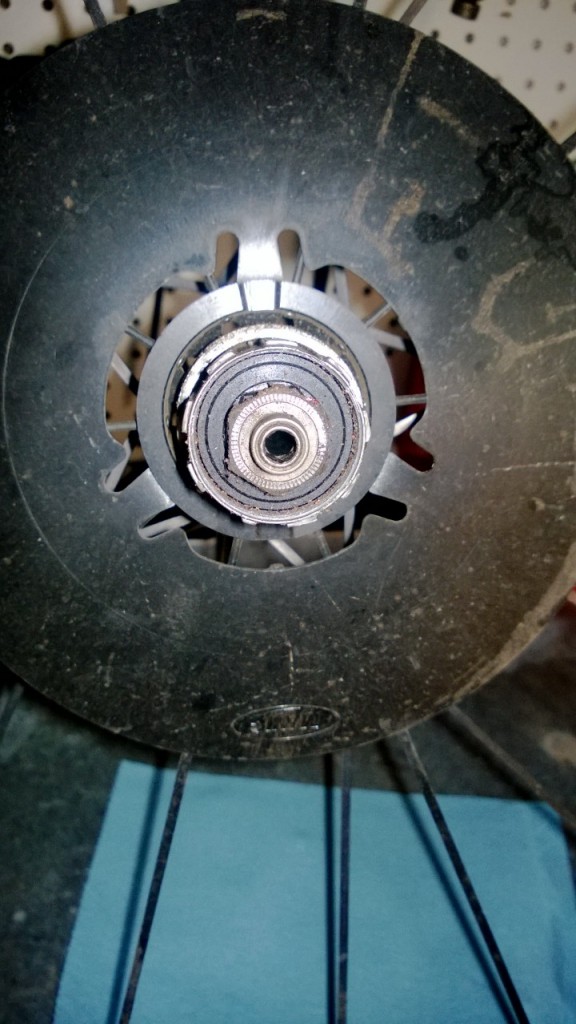
Once you have removed the cassette, things should look more or less like this.
Note: there are a couple different versions of axles that Mavic has used. The only difference is how the freehub is attached to the hub. If yours doesn’t look exactly like this, it’s ok. You will just need to pull the axle caps off and then use a couple of Allens to do the next step.
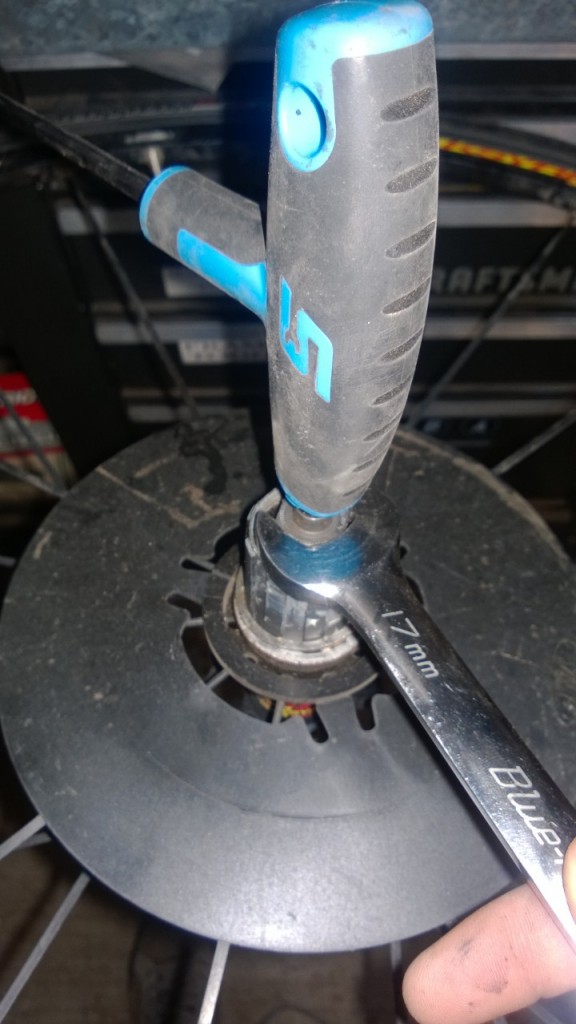
3. Using your 5mm Allen and your 17mm open end wrench, loosen the axle lock nut. The lock nut will come off of the axle. Notice that it is not symmetrical, one side is deeper and the other is knurled. Set it aside.
4. Pull the freehub body up and off of the axle. Be careful there are small, loose parts inside.
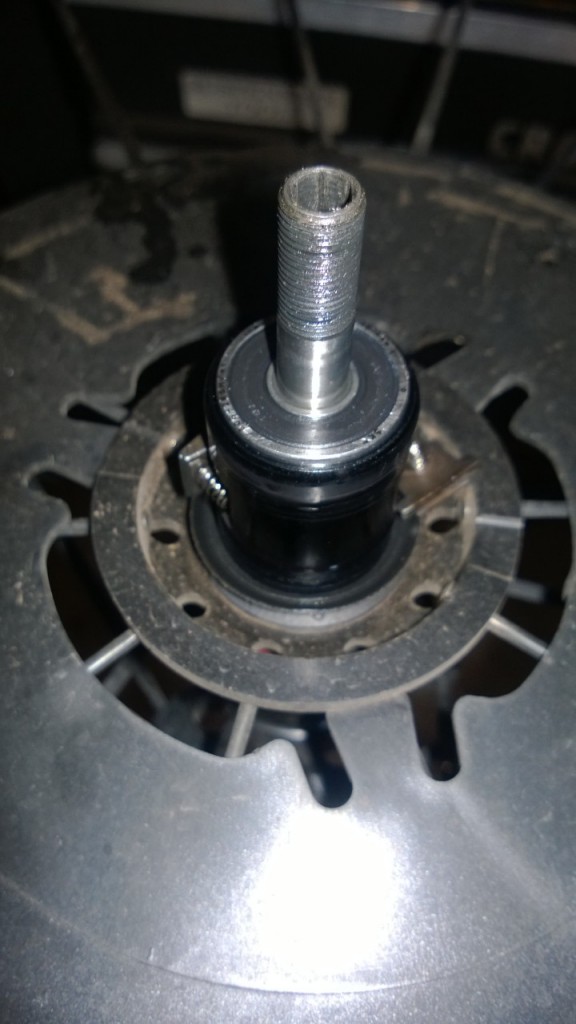 This is what you should now be looking at. I left it big so you can see some of the detail. Notice that the pawl on the right side is falling out of the hub. This is normal and you will most likely drop one when you pull the freehub body off of the hub. Be careful, the spring is tiny and impossible to find once it hits a floor.
6. At this point, you want to pull the pawls off of the hub. This will allow you to clean the male part easier.
7. Using a clean rag, remove all the old oil and dirt from the hub, freehub, washer, pawls and rubber seal.
I like to lay the parts out so I don’t lose them and I can inspect them for wear.
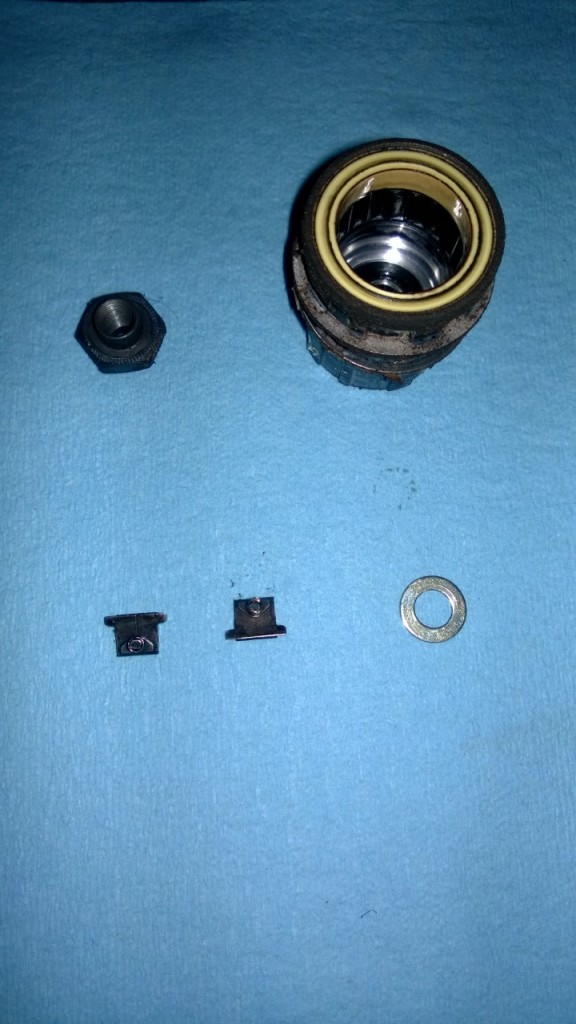 Notice the oil ring around the yellow bushing on the freehub body. The oil has begun to break down and it is good that we are servicing this hub. Also notice that the bushing is yellow. When the bushing is ran dry, it will begin to wear and show some discoloration. This particular freehub has been serviced often, it’s my wife’s.
The one part not pictured is the rubber seal that sits against the hub shell. This is the only thing that keeps debris out of the system. Some mechanics have been known to cut it in half as a way to reduce drag. Don’t do this. If everything is maintained, there will be no drag.
8. Inspect the pawls. If there is excessive wear on the ends, replace them. Worn out pawls can allow the freehub to slip past when under load.
9. Once everything is cleaned and you are happy that everything is either in good shape or has been replaced. Place the pawls back on the hub. I like to double check the springs and make sure everything pops in and out smoothly.
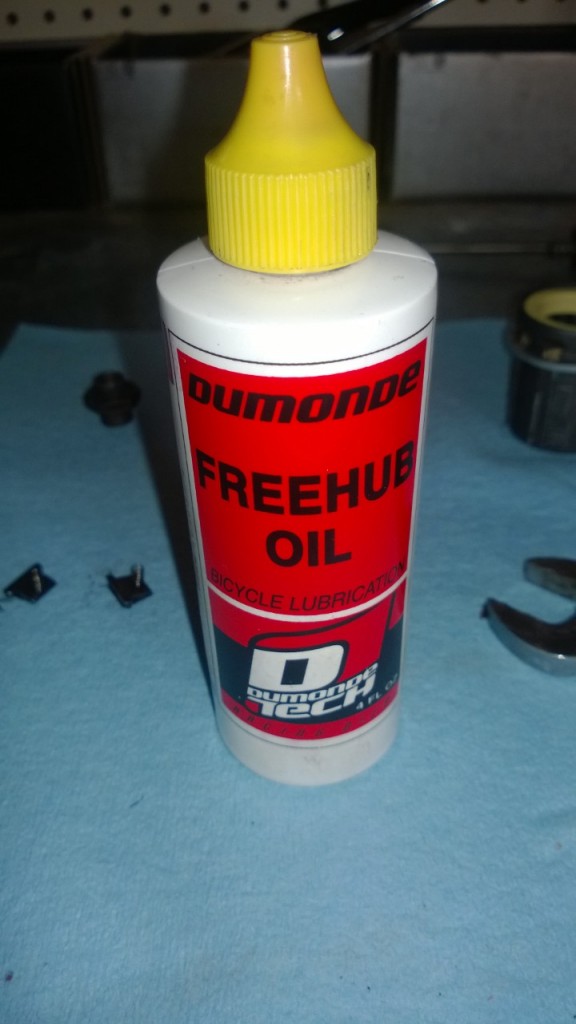
10.Using either Mavic’s freehub oil or the Dumonde Tech pictured, lube the freehub and bushing. You don’t really need a lot, you just want to make sure that everything is lubricated.
11. Put the washer back on the axle. It goes right above the outer bearing on the hub.
12. Push the two pawls into the hub so they are flush and then place the freehub body on the hub. If you push the pawls in, the freehub will slide right back into place.
13. Install the lock nut. The knurled side goes out, it helps keep the hub in place as it digs into your drop out.
14. Tighten the nut. It should be good and snug.
At this point, you are essentially done with the maintenance. You just need to install the cassette and put the wheel back on the bike. Use a light coating of grease before installing the cassette. This will keep things from creaking.
And most importantly, use a torque wrench when tightening the cassette. I can’t tell you how many of these I see that are loose and some that have even come all the way off.
40 Nm will do the trick. Unless of course you are running Campy and then you have to add ten for the Italians.
If any of this doesn’t make sense, hit me up in the comments and I’ll try and straighten you out.
P. L. and R.

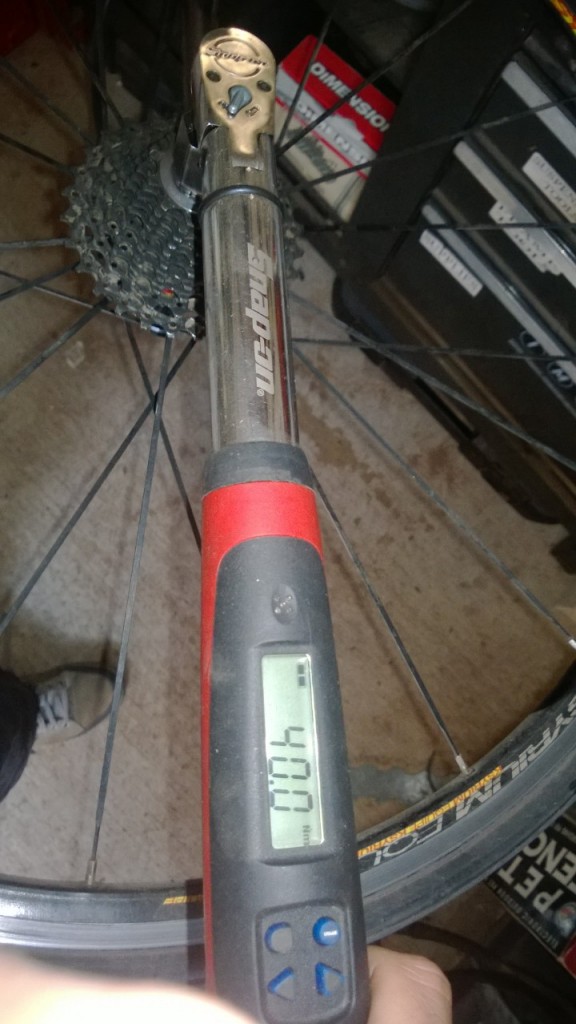
Nice Snap-On torque wrench pictured in the article on servicing Mavic freehubs. What model is it?
Not sure of the model. It’s the digital one. If you are professionally wrenching they are worth the investment.
Any advice on the pawl removal (before I steam in and man handle them)?
They usually fall out when you pull the freehub body off. If they don’t a slight bump or pull will do the trick. Be careful not to lose the tiny springs that keep them pushed up against the freehub.
Are the pawls supposed to be lubricated as well? Is there any concern about the pawl not engaging because of the lubricant?
Yes to both questions. The pawls should be lubricated with Mavic Freehub Body Oil. If you using anything heavier, it can cause the pawls to stick and not engage.
Hi
When tightening the 17mm nut the Mavic instructions say to apply 10Nm of force. I have a torque wrench but it uses sockets. Because the axel is being held by the 5mm allen key, its not possible to use a socket and I don’t have open ended wrenches with torque meters. How are you supposed to measure the 10Nm of tightening force?
Use a 5mm allen socket.
ive replaced the freehub body, pawls, springs & bearings. essentially nothing more to replace other than the rubber seal. at moderate to high speeds while coasting I sometimes get slack in the chain (ie… hub is not freewheeling completely). I did lube when I reassembled. what might be causing this? obviously something is binding. if its the rubber seal where can I geta replacement?
I’ve been doing this faithfully, for years since installing the aftermarket bushing replacement from the Hubdoctor, on Ebay. Now, suddenly, I’ve had the dreaded squeal of death when coasting above 25-30 mph with the chain on the outer/small cog, and I can workaround by shifting in, to the lower bigger cogs, which logically should be putting more pressure onto the freewheel bushing, and less onto the outer integrated sealed ball bearing, exactly the opposite of what I would expect, in regard to causing, then alleviating, the issue. I wonder if the bearing itself is failing, but is seems fine, smooth, quiet, etc. otherwise and when tested in the shop. Either way, the wheels are “obsolete” 26″ way beyond warranty, but am not wanting to dump big $ into a new wheel.
I haven’t tried for a while, but I assume you can still get a seal from Mavic. When you pulled it apart, how did the bushing on the hub look? This part is not replaceable but does wear and once worn can cause friction and a slack chain.